
cold brew coffee
I haven’t posted in a minute. The last month has been a little crazy! I drafted this post a while ago but hadn’t actually made cold brew yet because it just wasn’t super hot out, but I seized the day today. Temps are high around these parts so I figured I would go for it. Mm, what a treat. Here is a tried and true cold brew recipe. Use the brewing ratio to make any size batch you want with any kind of beans. See my notes below for more tips!
Cold brew. The summertime drink of choice for many, the year round choice for plenty of new englanders. It’ll put a hole in your pocket. What people don’t realize is that you can make at home. You just need a few kitchen supplies and tools, good quality coffee beans, cool water, and time. You can make as much or as little as you want. I prefer making smaller batches because I’m not much of an iced beverage person (unless it’s a cocktail), but if you’re someone that goes out for coffee every day, this will save you some $$. Let’s start with the setup. you’ll need:
fresh coffee beans & coffee grinder- we want to work with coarsely ground coffee. I’m talking grounds the size of coarse sea salt. If your coffee is pre-ground for auto pot (medium grind) you can steep your grounds in the fridge for 24 hours (the smaller the particle, the quicker the coffee extracts. cold temps slow extraction), but it will take more time to strain it at the end. Not what you want when you’re caffeine deprived. If you can grind your coffee coarsely, proceed as directed.
fresh cool water- cold water is more of an indicator that we are not brewing with boiling water. Cold tap water is just fine here. No need to chill it beforehand since we are going to brew at room temp on the counter. *The better tasting the water, the cleaner your coffee will taste. Our city water is a little chlorine heavy to my nose, so I like to filter any water we drink with a charcoal stick. It takes some of the nasties out.
a kitchen scale- helpful with weight precision- measuring coffee beans by volume can vary in weight depending on roast level, so it’s good to use weight for everything. It takes the guessing out of the process, and if you bake, it’s just handy to have. Buy one!
a bowl/pitcher- use a medium size bowl for your overnight brewing. It should be able to fit all of the coffee grounds and brewing water. A lid is helpful too. a pitcher is handy if this is what you’ll store your finished product in and takes up little room on the counter.
a mesh strainer/sieve and two containers to strain into- I use a medium-small size strainer for the initial strain. Make sure yours fits over the mouth of whatever you’re straining into. Remember we will be straining twice, so you should have two clean containers after brewing is done. I use two quart size Mason jars for the amount I brew, but you may need something larger.
a paper coffee filter and coffee cone/basket- the second strain should go through a paper coffee filter. This is important so that we don’t have sludge at the bottom of our glass/pitcher of coffee. It collects all of the fine particles from your ground coffee. We don’t want our coffee to have texture! I use a Bonmac ceramic cone for this step, but anything that your paper filter fits into will do just fine (eg. basket from an auto drip brewer).
*One more quick note on beans: you can use any kind of bean for any kind of brewing, and this includes cold brew. I worked as a barista for 15 years and I’ve brewed cold brew with literally every type of origin and roast. If you like drinking it hot, you’ll probably like drinking it cold. I tend to gravitate toward medium roasted coffees in general, and I think that they make nice cold coffees, but use whatever you have! I’ve mixed different coffees together too when I’ve been in a pinch (or just for fun).
Here is the ratio to remember when making cold brew: 1:4. For every one part of coffee (we’ll use ounces), you’ll brew with four parts of water. For example, if I grind 5 ounces of beans, I will pour 20 ounces of water over the grounds to brew. If you use a whole 12 ounce bag of coffee, you’ll need 48 ounces of water. It’s that simple! You can make as much or as little as you want with this ratio. Mental math really does come in handy.
1 part coffee: 4 parts water This recipe makes a concentrate that we will dilute after brewing.
Okay, now that you’ve gathered your tools, let’s get brewing! Weigh your beans in your brewing bowl before grinding. Coarsely grind your beans and add back to your bowl. With your scale on, pour the cool water over the beans and stir to break up any clumps of coffee. That’s it! Cover the top with a lid or cutting board to keep anything from falling in while it brews. Say goodnight to your cold brew. In 12 hours, it will be ready to strain.
12 hours later: Set up your clean straining container with the mesh strainer on top. I use a large Mason jar here. Pour your brewed coffee through the mesh strainer. Try to get all of the grounds into the strainer- we want to get all of the liquid we can.

Here are all of the grounds from the first strain
Once it seems like all of the coffee has dripped through, set your paper filter inside of your cone brewer/flat bottom basket of choice, and set this over a narrow mouthed container such as a Mason jar or pitcher. Pour the coffee through the paper filter. Depending on how much you brewed, all of your coffee may not fit in the cone/basket at once. This is where the course grind comes in handy- if you used a medium grind, it will take much longer for the coffee to filter through. Look at all of the sludge you caught! Super clean coffee is delicious coffee.

Second strain through the paper filter with cone brewer
There’s one last step: we need to dilute the concentrate we just brewed and strained. If you drink it now as is, you probably won’t sleep for at least 2 days. Let’s put a clean bowl/jar/pitcher back on the scale and weigh our brewed concentrate. Whatever number you get, add twice as much water. For example, I got 12 ounces of brewed concentrate, so I’ll add 24 ounces of water. This made just over a quart of cold brew (36 oz). Once you’ve ‘broken down’ your cold brew, it’s ready to drink! *1 part concentrate to 2 parts water is a good place to start. If you like it stronger/drink with lots of ice and/or milk, you may want to add a little less water. Caffeine sensitive? You may want to use more water. A good thing to do before diluting the whole thing is to measure out and dilute a small glass for yourself to see how you like the ratio. Remember, ice will dilute your cold brew, as will milk.


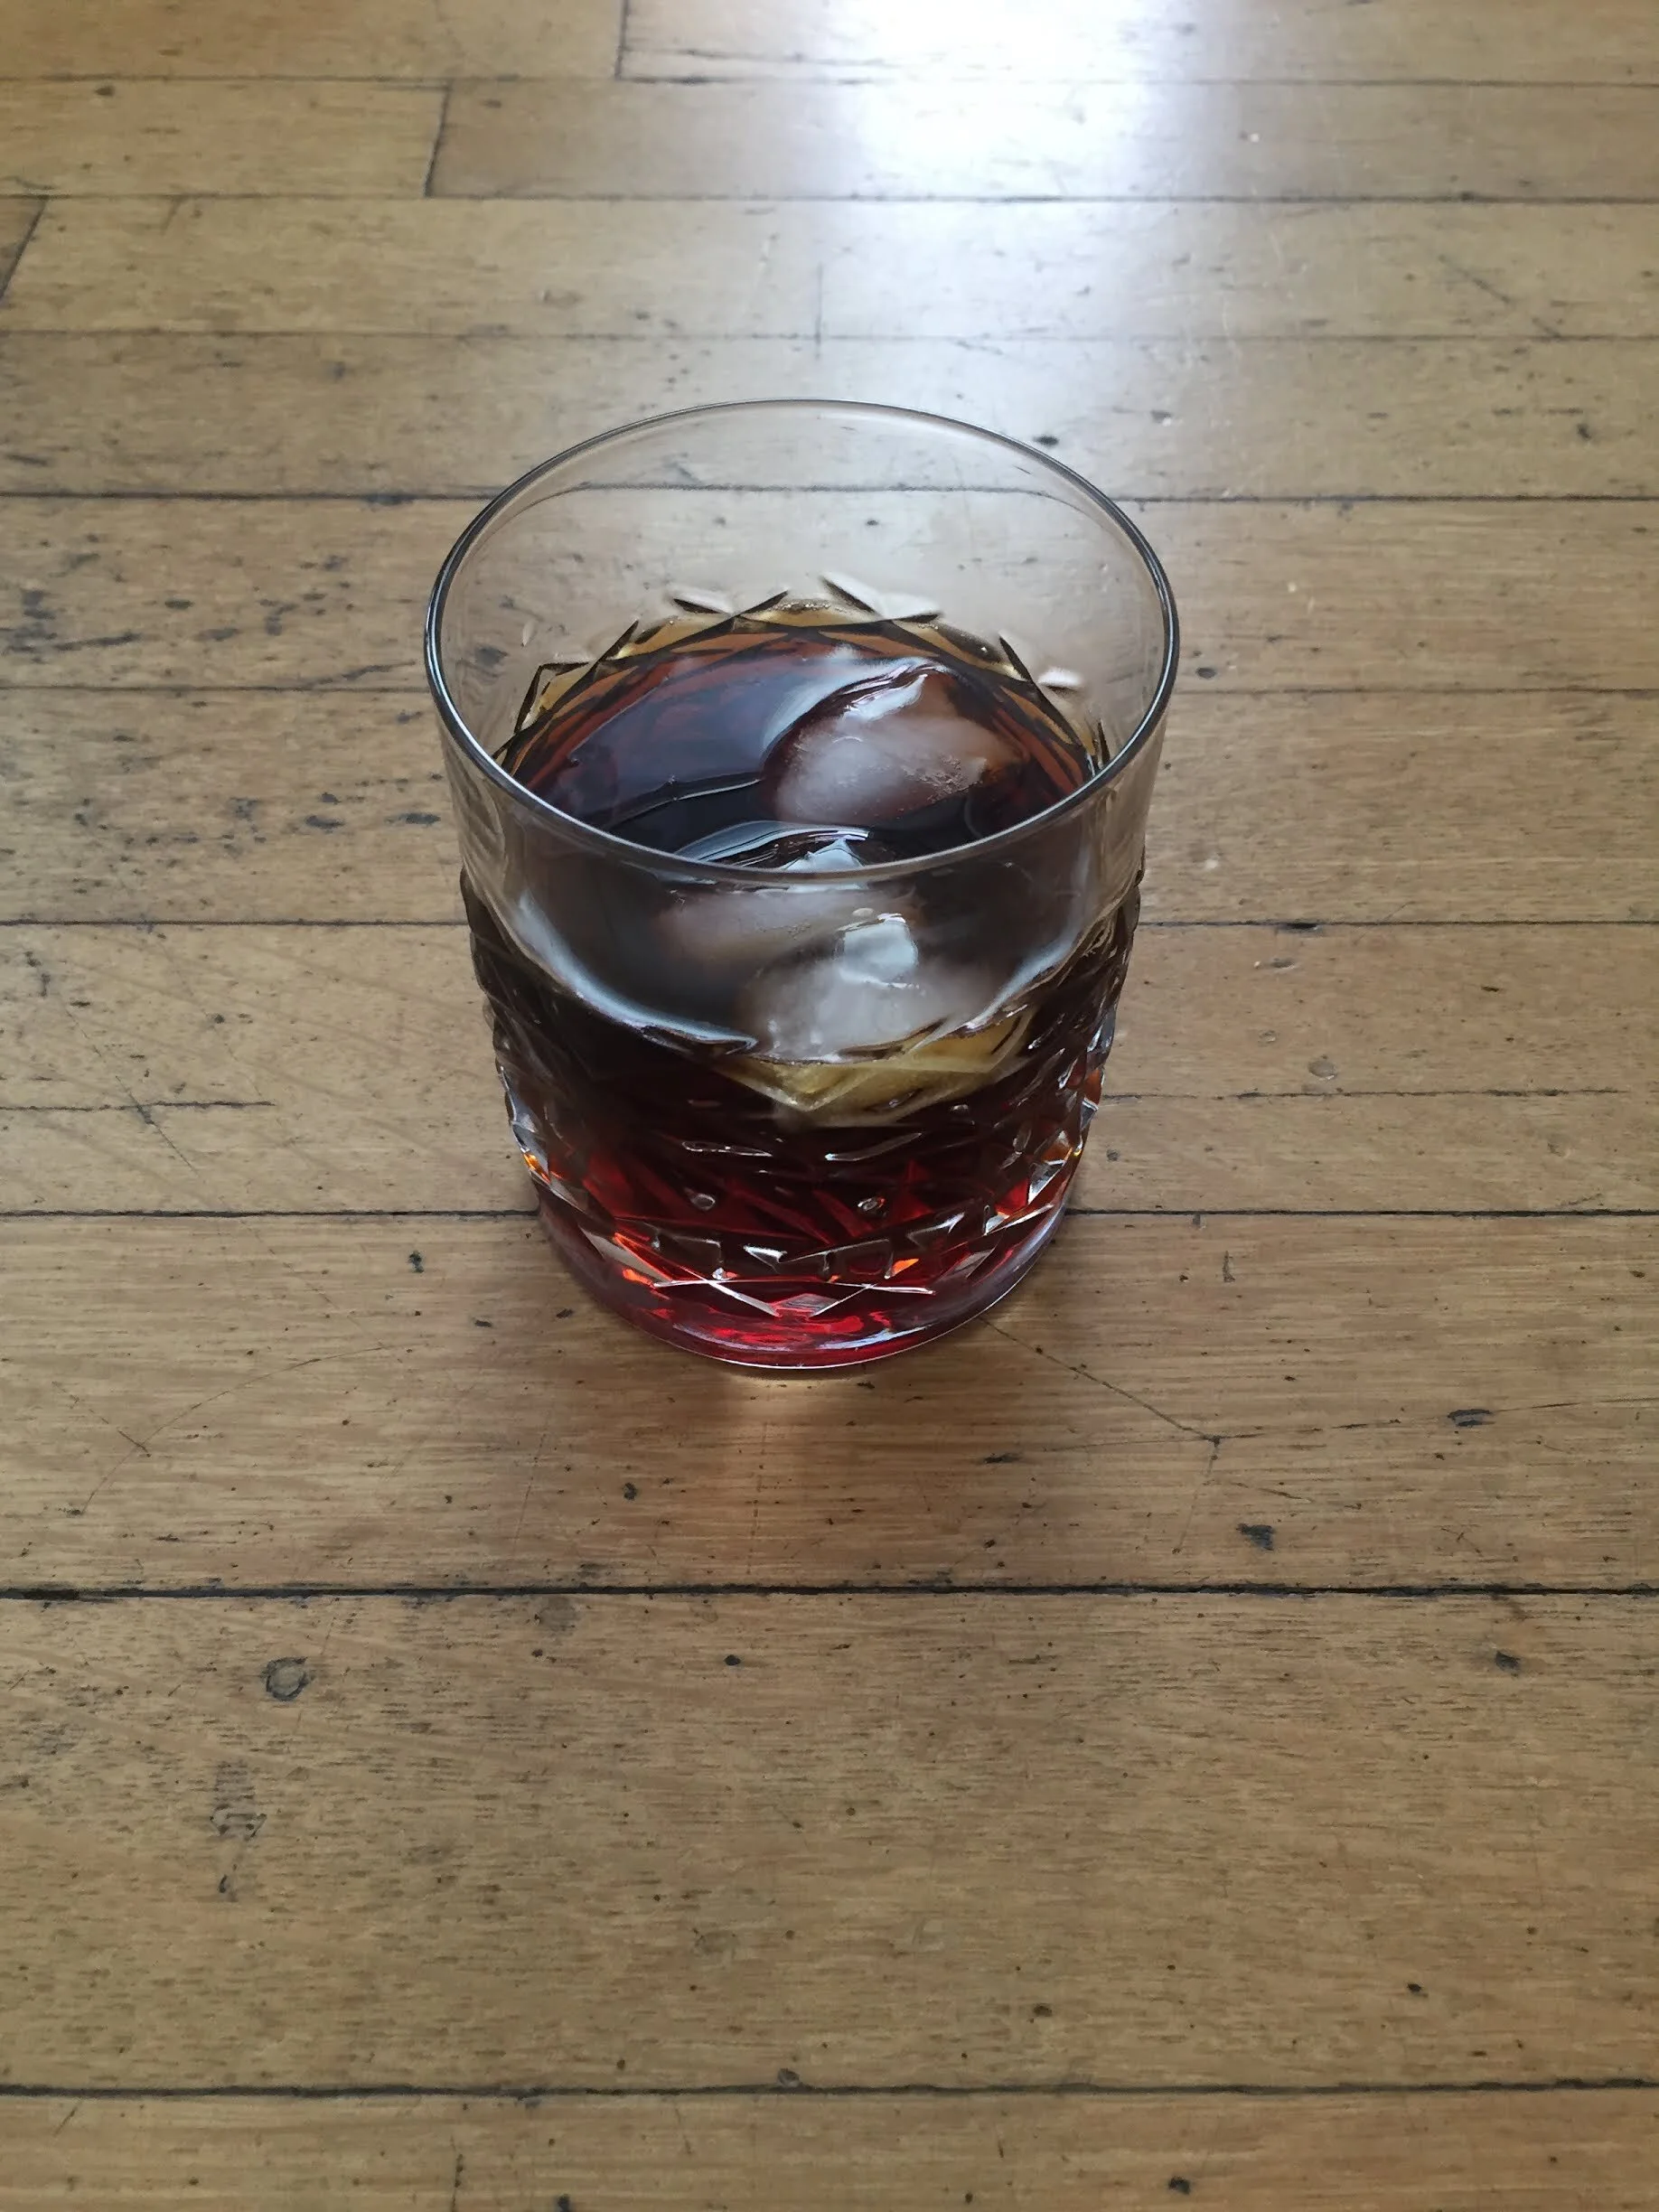
Okay! You did it. The explanation is wordy, but in reality this is a pretty doable process. Your cold brew is now ready to serve. Straight off of the counter it’s likely not as cold as you’d want it to be, so if you’re drinking right away, throw a few cubes in your glass. I like it straight from the fridge without ice too. You can store your cold brew in the refrigerator for up to 5 days to ensure freshness. Cheers!


