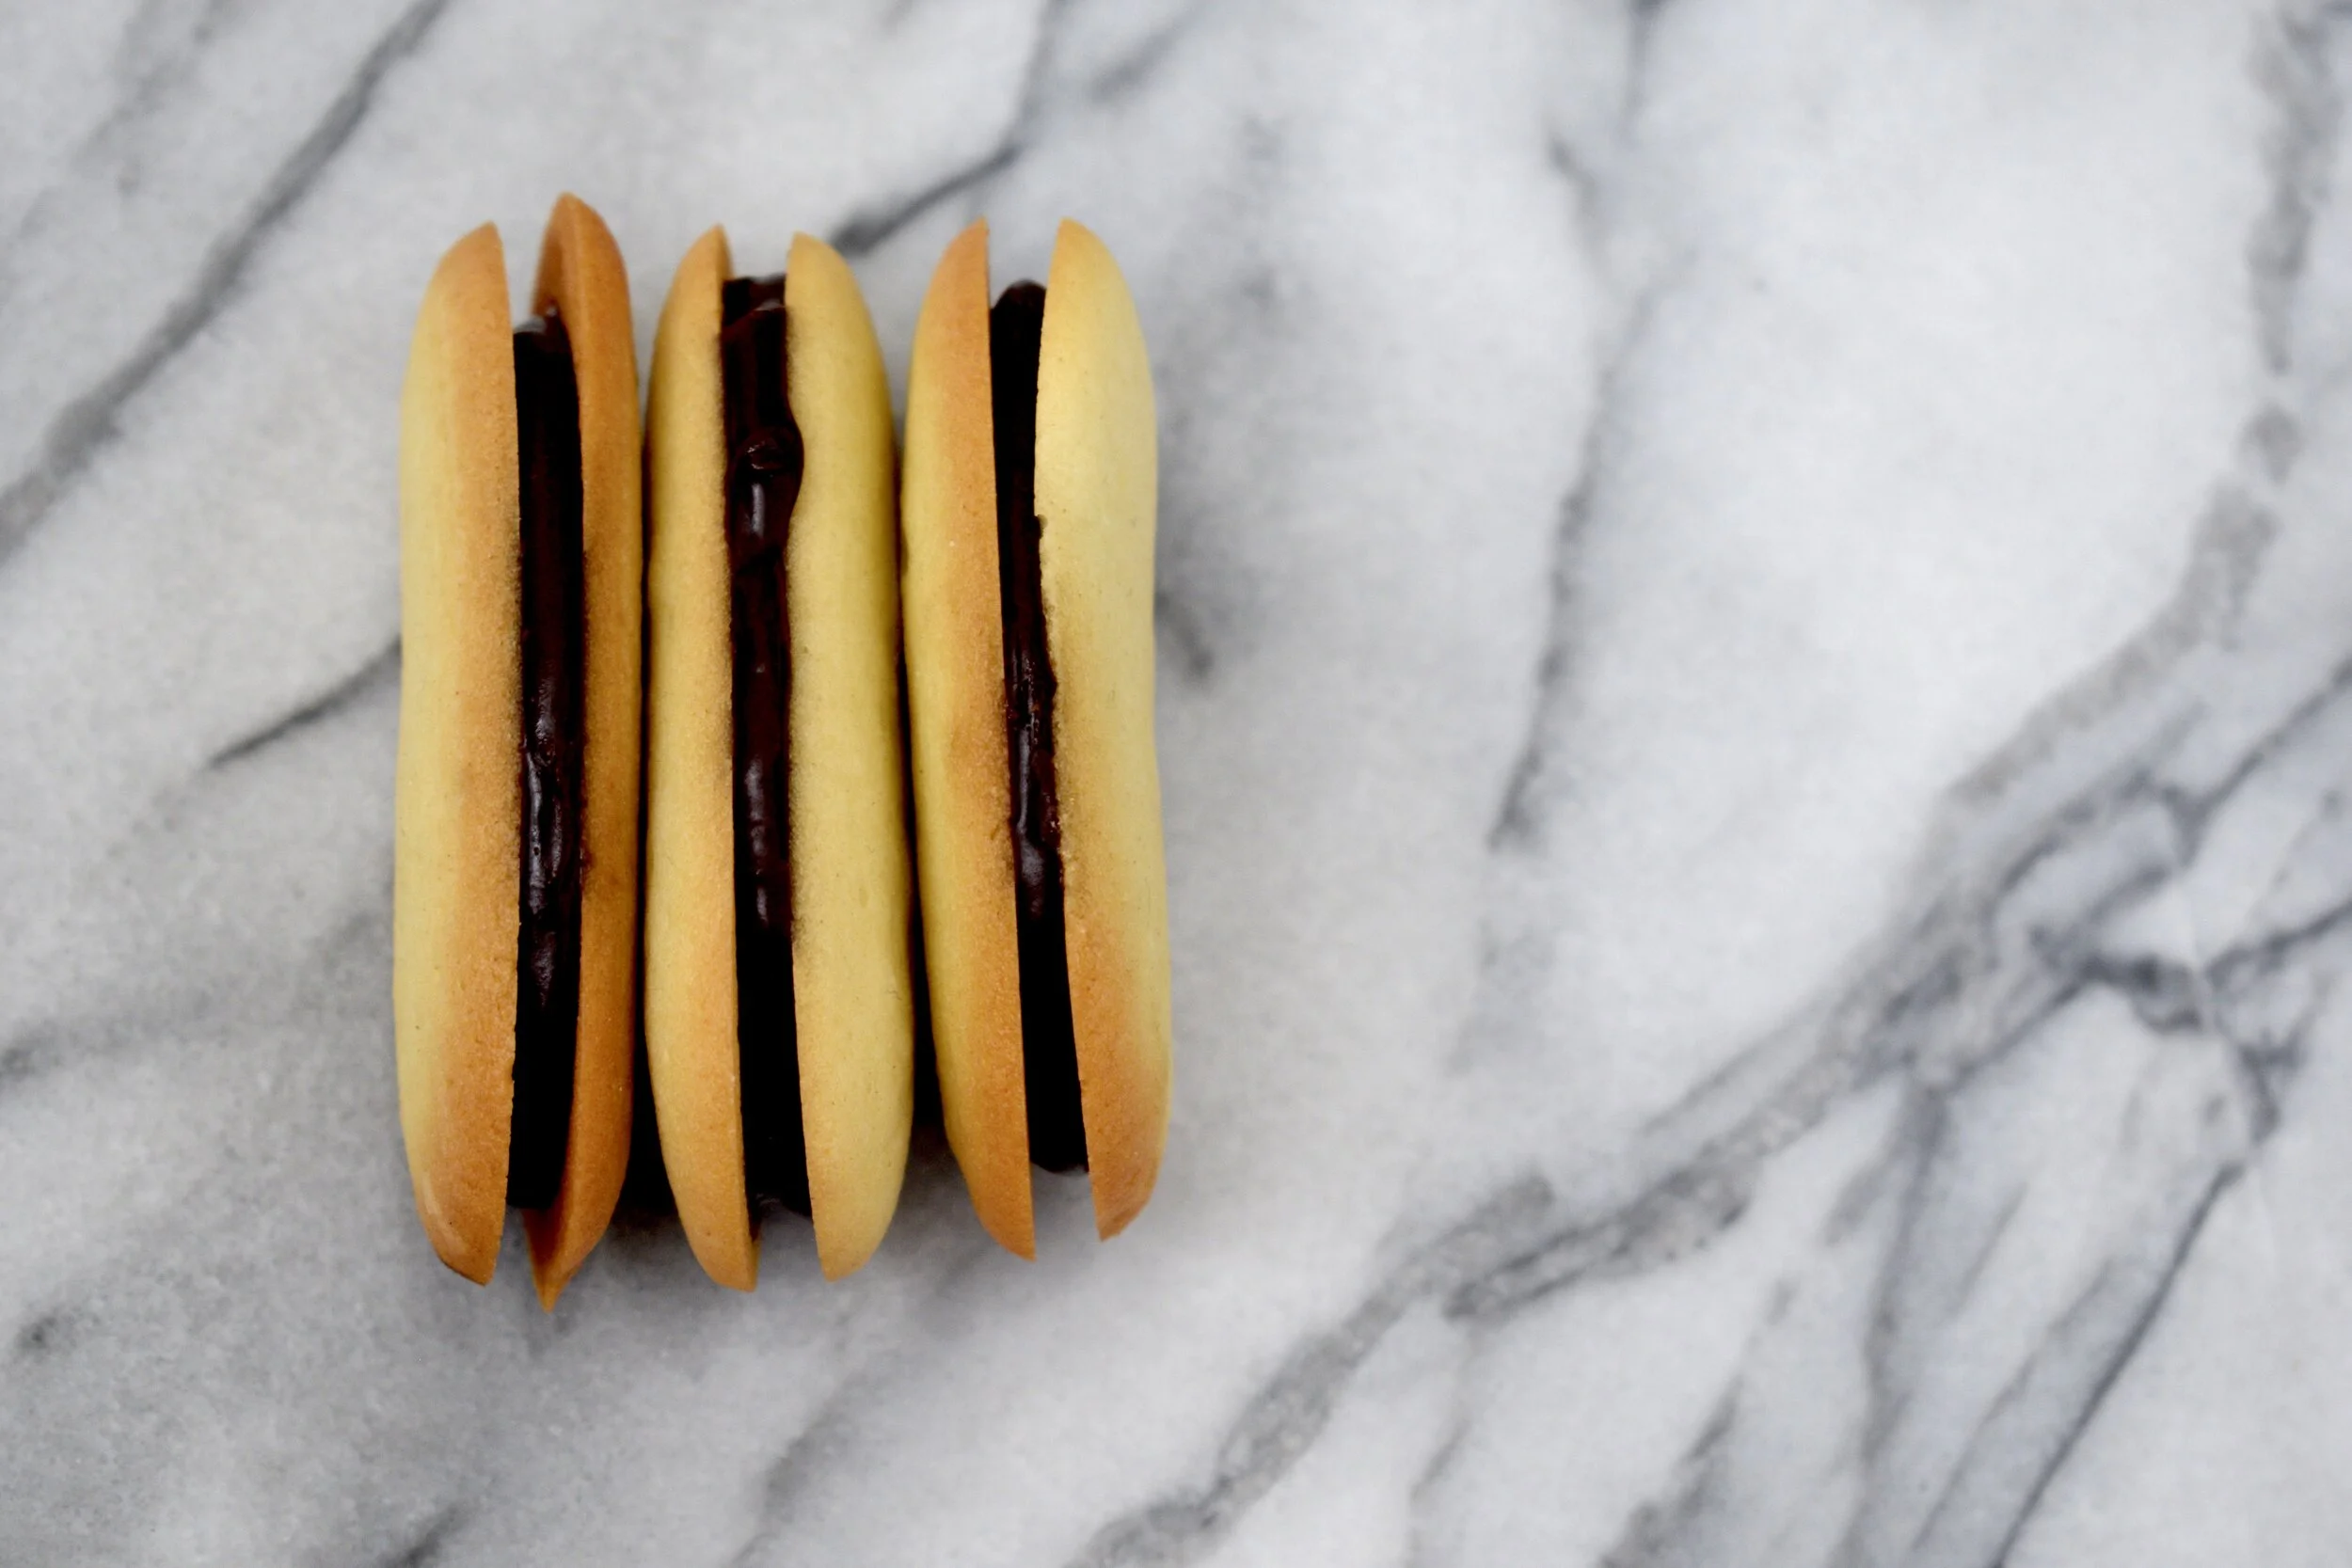
milano cookies
Ohhhhkay. Baking milanos has been on my radar for a while. I decided to make these with my weekly baking club (comprised of long time friends of mine from undergrad). I simply sent them the ingredient list and we started baking. No one even asked what we were making! The only request was cookies. So, as we were about to pipe these out, I spilled the beans and everyone flipped. I think if I had known how easy these were to make, my cookie eating quota would be much higher by now. They definitely look more complicated than they actually are. I’m already thinking of ways to make these a little more exciting (freeze dried strawberry in the cookie batter) but honestly, just make them as is.
milano cookies
yield: 20 sandwiches
1 stick (8 Tb./113 g) softened butter
1 ¼ cup (140 g) powdered sugar
1 egg + 1 egg white
1 ¼ cups (150 g) flour
½ tsp. Kosher salt
-
⅔ cup (110 g) dark chocolate (chips or chopped, at least 60%)
-
1 piping bag (or ziploc bag, quart size or larger), ½” tip
Silicone mat or parchment paper
Preheat oven to 350 F. Line an 11x17” baking sheet with a silicone mat or parchment paper. Place your piping bag with the tip cut ½” wide into a tall glass, with the top of the bag rolled over the sides of the glass. Have a spatula ready.
In a stand mixer with the paddle attachment or with a hand mixer and medium bowl, add the softened butter and powdered sugar. Cream on low speed for a few minutes until the mix is completely smooth. If your butter is a bit firm, you may need to add a little time on here, but just keep mixing until very smooth. Add the egg and egg white and mix on low just to combine. The mixture will get a little clumpy and won’t completely homogenize here, but that’s okay as the flour will bind everything together. With the mixer off, add the flour and salt, then beat on low until just combined.
Turn the mixer off and, trying to avoid the edges of the bag, scoop the batter into your prepared piping bag with the spatula. You should be able to fit at least half of the batter in at a time. When you’re ready, fold up the sides of the bag and place your thumb and forefinger around the bag where the batter is filled up to. Twist the bag tightly (or seal if using a zip top bag) and get ready to pipe.
On your silicone mat or parchment paper-lined baking sheet, pipe 2 inch-long logs at least an inch apart, applying even pressure as you pipe. These cookies spread, so don’t be a hero here! Give them some space. You will have to make two batches. I was able to get about 20 cookies on a sheet (5x4 rows). The more even your piping, the more uniform your cookies will be, which will help when you pair them up later. If you have little ‘tails’ at the ends, you can use a finger dipped in water to push the tails back down. Put the pan in the oven and bake for about 10 minutes, until the edges just begin to brown. Your cookies will feel firm to the touch. Remove from the oven and allow to cool for about 5 minutes before transferring to a cooling rack. Repeat with the remainder of the batter.
When all of the cookies are cooled completely, prepare your filling. Add the chocolate to a small microwave-proof bowl. Heat in a microwave in 15 second spurts, stirring every 15 seconds. You will want to stop heating it while there are still some chunks of chocolate. Just continue to stir and it should all melt. You want to avoid overheating the chocolate- it can get grainy and burn. Set it aside and let it thicken slightly, stirring occasionally. *Now is a good time to match your cookies together. Try to pair up the ones that fit together best. This is mainly aesthetic, but the closer they are in size, the less likely the chocolate is to spill out.*
When the cookies are cooled and the chocolate is slightly thick, spoon a small amount of the chocolate onto one side of the pairs. Be sure to apply it as evenly as possible, all the way up and down the cookie. It doesn’t have to cover the whole surface- the other cookie will smoosh it out. Do this with all of the cookies until you have used up your chocolate. Apply the bare halves to the chocolate halves and press together gently. If it is particularly warm in your kitchen, you may want to stick these back onto your baking sheet and pop them in the fridge to firm them up. (The first one I tried to eat literally oozed everywhere- picture perfect! haha) Store airtight for up to a week (they won’t be around for that long).